Thanks to the growing popularity of Cerakote and hydro-dip graphics, more and more owners are customizing their handguns, rifles, and firearms accessories.
If you're looking to give your firearm a new look but don't have the time or money for an all-out professionally done project, don't get discouraged. Thankfully, DIY camo paint jobs can be done at home and for substantially less!
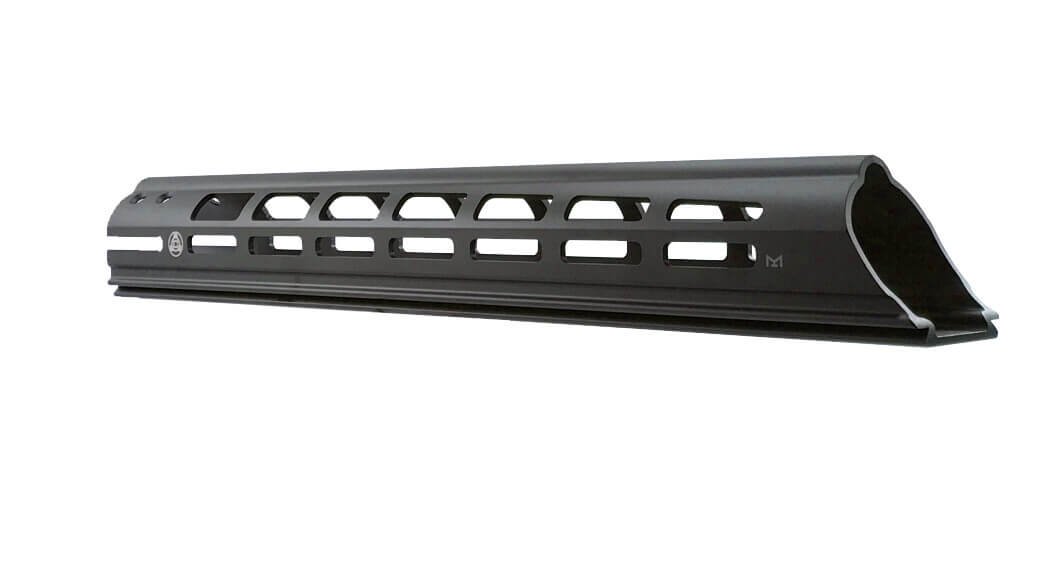
Follow our Catalyst Arms firearm expert as we transform our Fast Track Arca Rail Handguard into a woodland-style camo pattern. The materials we used can be purchased at any local hardware store and consisted of stencils cut from painter's tape, a sharp blade, and regular rattle-can spray paint.
Catalyst Arms Fast Track Arca Rail Handguard
Extra DIY Camo Painting Instructions
For those interested in more information on DIY camouflage paint your rifle, we've put together the following tips to help guide you.
*Mandatory Safety Statement - Before you begin, always ensure that your rifle is unloaded and safe to handle. Remove any ammunition for your work area and ensure the rifle is on safe and the chamber is empty.
Disassemble the rifle as much as possible. This will make it easier to apply the paint evenly and avoid drips and overspray.
Clean the rifle thoroughly to remove any dirt, oil, or debris that might prevent the paint from adhering properly. Use a degreaser or gun cleaner to remove any oils or greases, and then scrub the rifle with a nylon brush and warm soapy water. Rinse the rifle with clean water and allow it to dry completely.
Cover any areas that you do not want to paint with masking tape or newspaper. This includes the sights, scope, and any other parts that should not be painted.
Shake the can of camouflage paint well to mix the paint evenly. Hold the can about 10 inches away from the rifle and apply the paint in thin, even coats. Use a back-and-forth motion to avoid drips and overspray. Allow the paint to dry completely before applying a second coat.
Once the paint is dry, carefully remove the masking tape or newspaper and reassemble the rifle.

